Getting Started
How to Set Up Your Axy Engine
Your Axy engine is the foundation of your algorithmic marketing engine. During onboarding, Axy learns your business, analyzes your website, discovers your social channels, builds your knowledge base, identifies competitors, and generates your first marketing strategy. Once your Engine is reviewed and approved, Axy can start generating AI visibility analytics, market intelligence dashboards, and campaigns across GEO, LinkedIn, and X. This tutorial walks you through the setup process.
On this page
- Before you start
- Step 1: Start onboarding
- Step 2: Let Axy analyze your website
- Step 3: Review discovered social channels
- Step 4: Add additional online resources
- Step 5: Populate your knowledge base
- Step 6: Review your generated marketing strategy
- Step 7: Review suggested competitors
- Step 8: Review channel-specific marketing plans
- Step 9: Approve your onboarded pages
- Step 10: Start using your marketing engine
- FAQ
- Best practices
Before you start
You will need:
- Your company website URL
- Any additional social channels you want Axy to know about
- Optional resources such as docs pages, GitHub repositories, whitepapers, pitch decks, PDFs, blog links, or product pages
- A few minutes to review and approve the generated strategy
You do not need to have everything perfect before continuing. Axy will generate most fields for you, and you can always come back later to edit your strategy, competitors, channels, and plans.
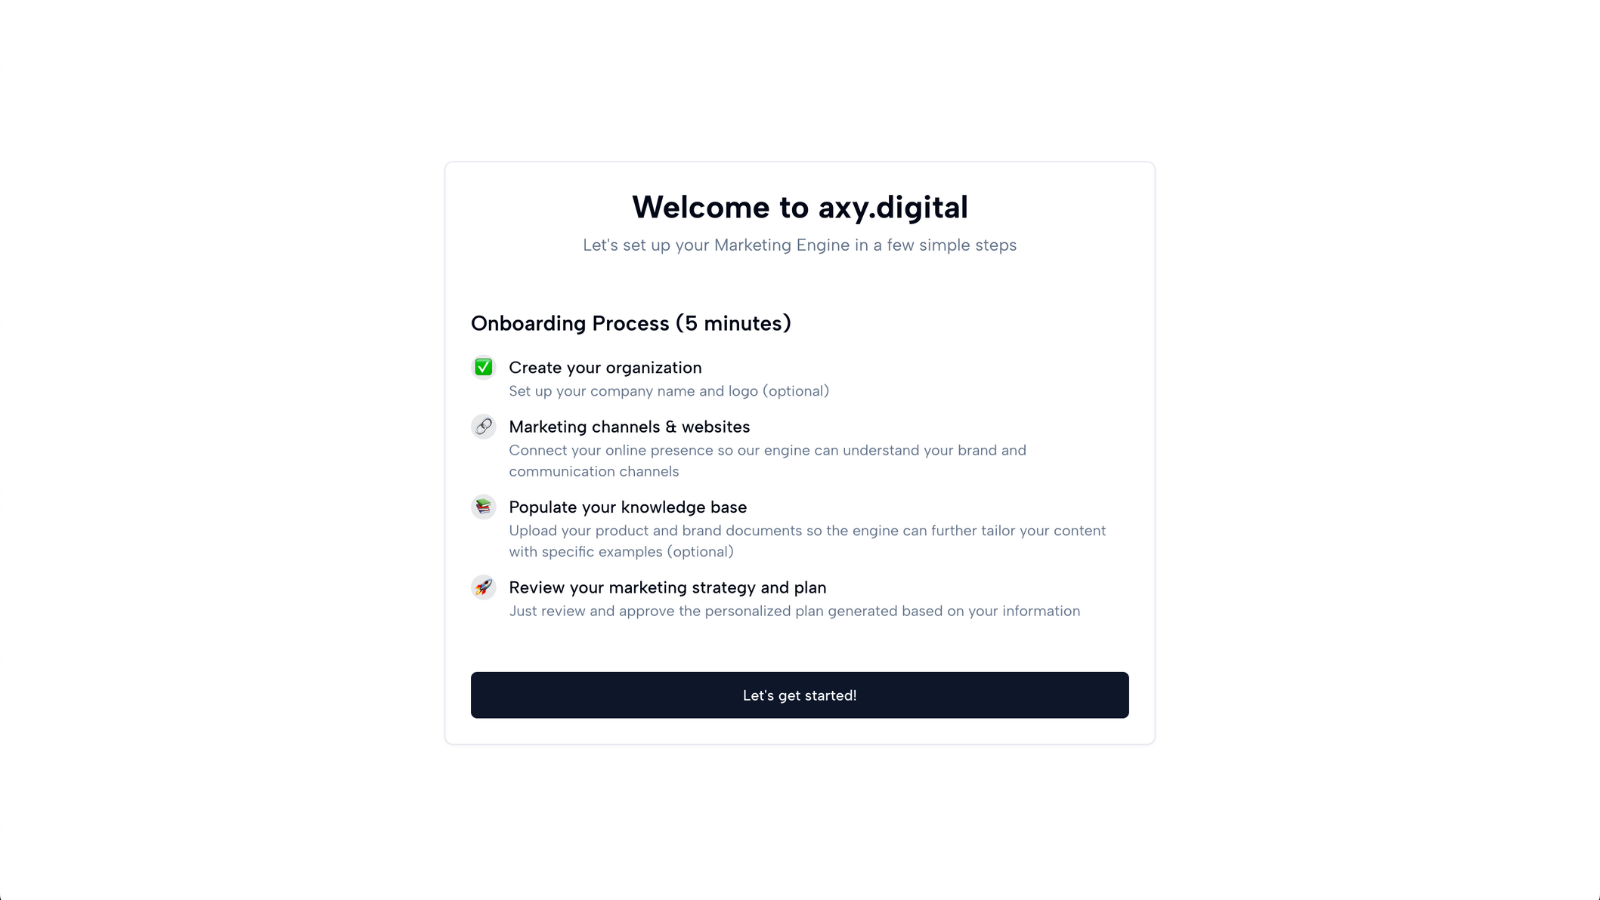
Step 1: Start onboarding
When you first create an account, Axy will take you to the onboarding page. This guided onboarding flow helps Axy understand your business before generating strategy or campaigns.
Start by entering your company website URL. Axy will use your website as the first source of truth for your Engine.
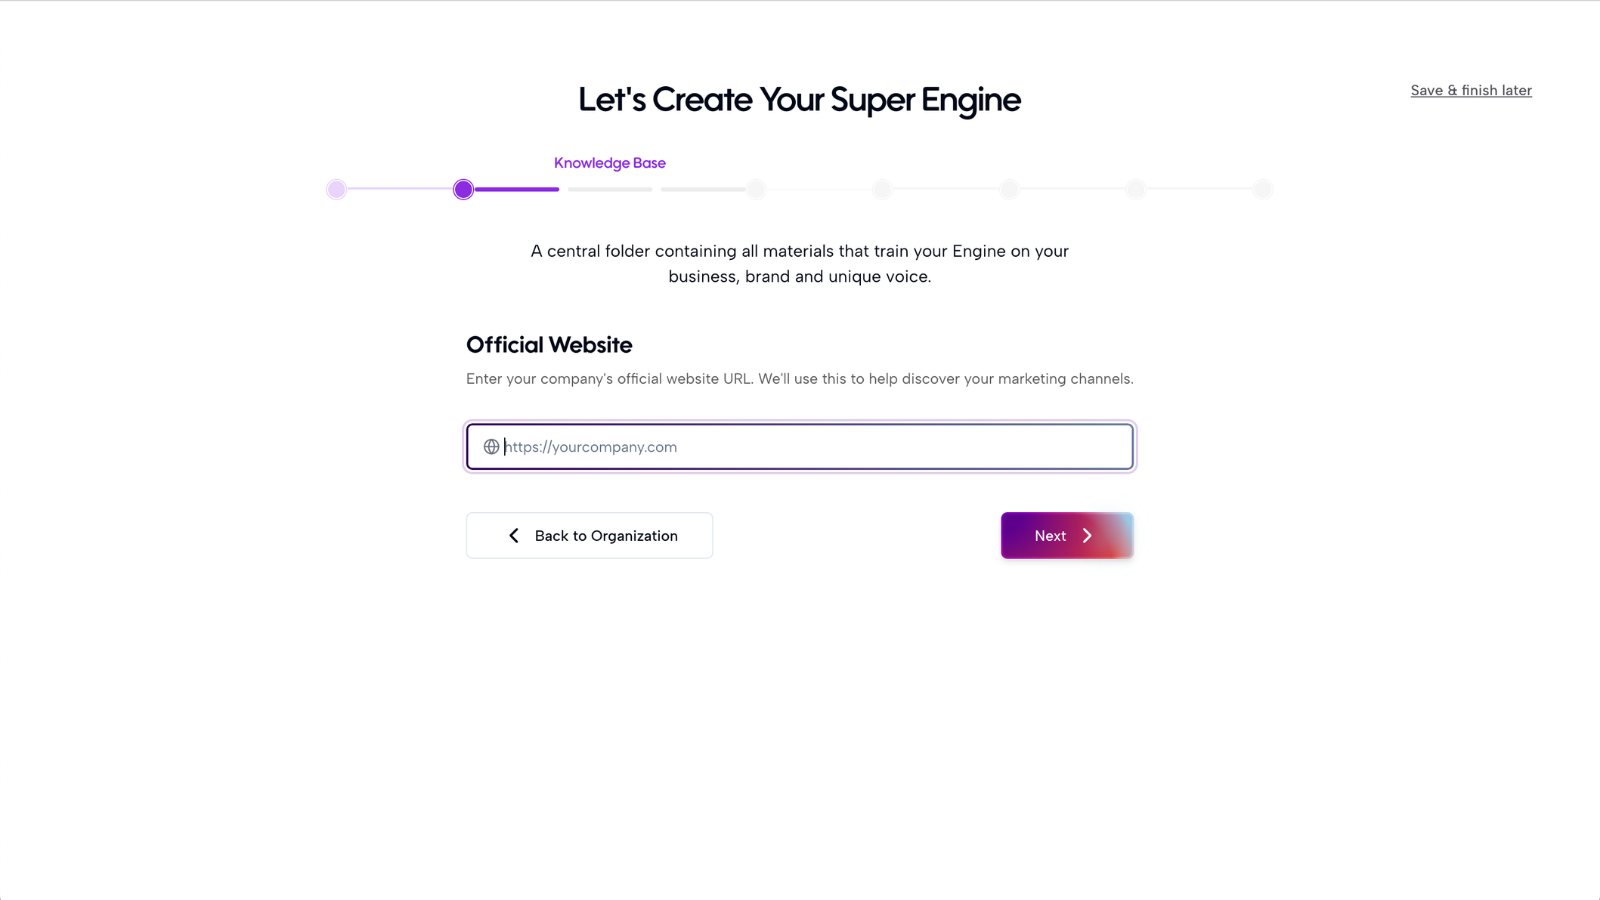
Step 2: Let Axy analyze your website
After you enter your website, Axy will analyze your site to understand:
- What your company does
- Your product or service offering
- Your target audience
- Your positioning
- Your category
- Your existing content
- Your current marketing foundation
Axy uses this information to begin building the context layer for your marketing engine. This context helps future campaigns stay relevant to your business instead of producing generic AI content.
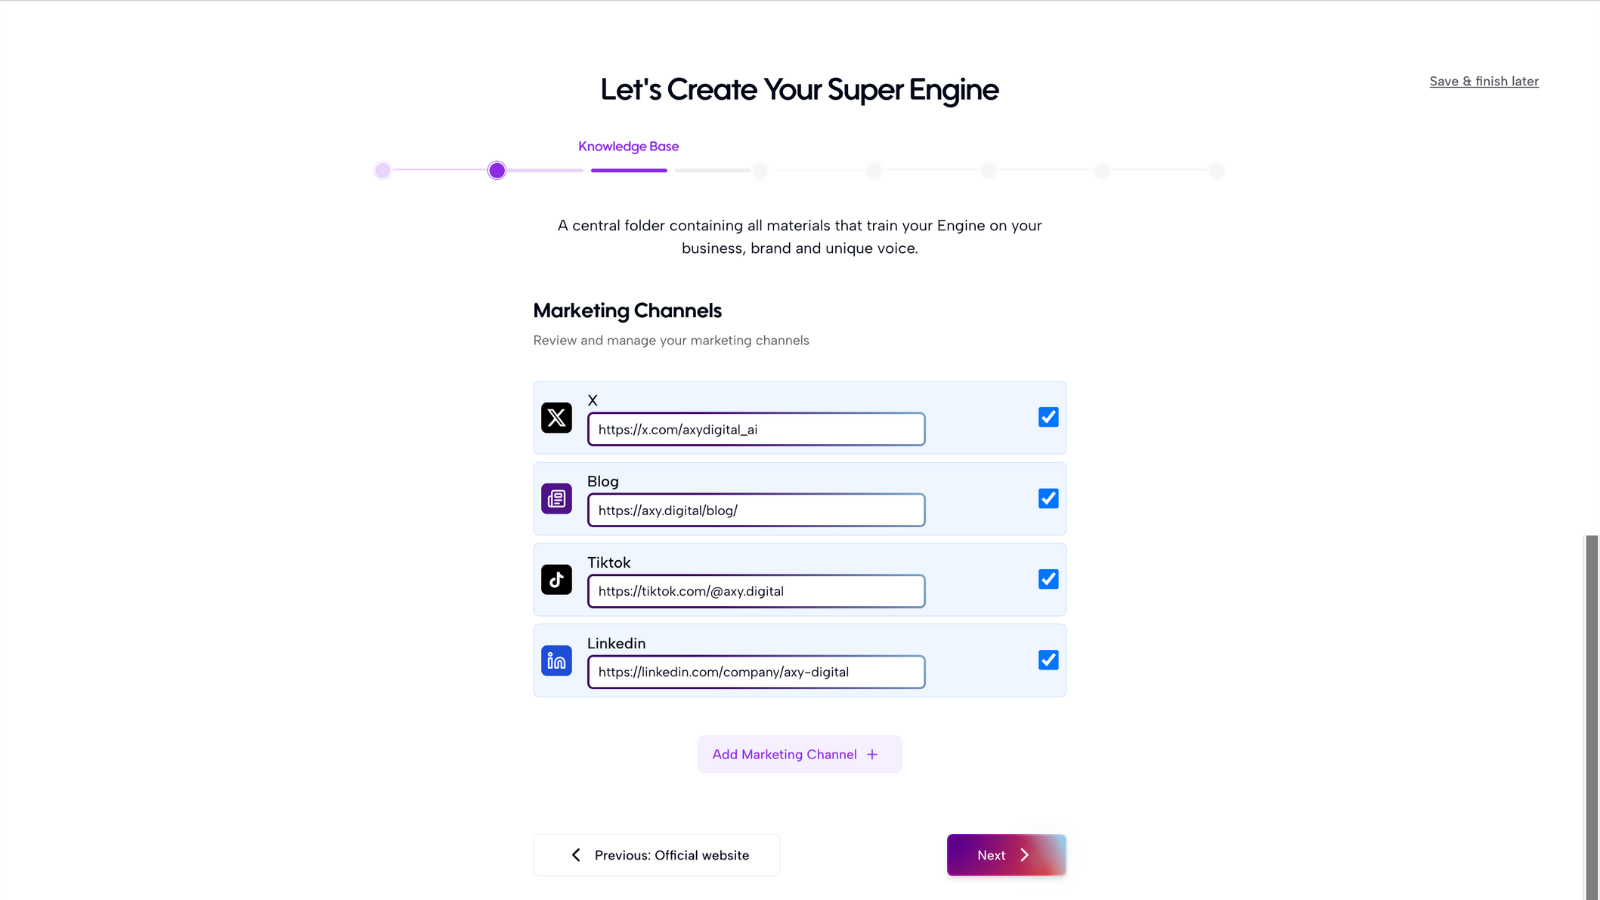
Step 3: Review discovered social channels
Axy will automatically look for your existing social channels from your website and public presence. This may include:
- LinkedIn company page
- Founder LinkedIn profiles
- X/Twitter accounts
- YouTube
- Other relevant channels
Review the channels Axy finds. If a channel is missing, you can add it manually. Axy will analyze your social pages to understand your current messaging, audience, posting style, and content history.
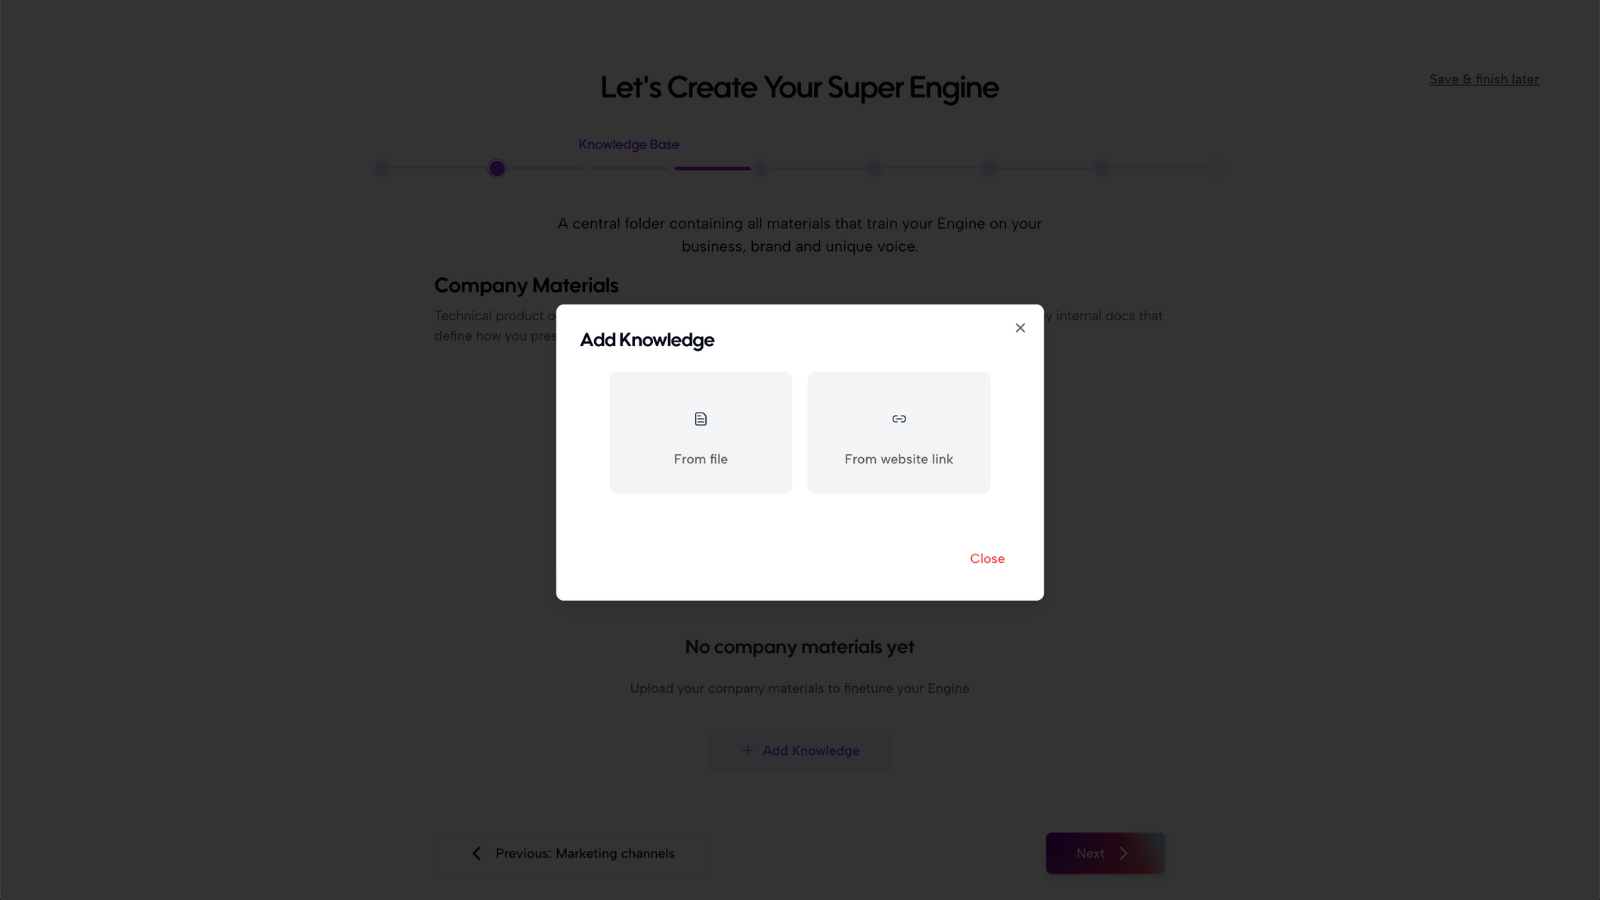
Step 4: Add additional online resources
Next, add any additional resources that can help Axy understand your company more deeply. Useful resources include:
- Documentation pages
- GitHub repositories
- Product pages
- Help center articles
- Whitepapers
- Pitch decks
- Sales decks
- Blog posts
- Case studies
- Technical docs
- Public reports
- Brand guidelines
These sources help populate your knowledge base. The more useful context Axy has, the better it can generate strategy, market insights, and campaigns. You do not need to upload everything at once. You can always add more resources later.
Step 5: Populate your knowledge base
Axy will use your website, social channels, uploaded documents, and added URLs to populate your knowledge base. Your knowledge base is where Axy stores the core context it needs to understand your business. This may include:
- Company description
- Product overview
- Key features
- Target customers
- Use cases
- Positioning
- Differentiators
- Proof points
- Market context
- Founder voice
- Brand voice
- Existing content themes
This is one of the most important parts of setup because it affects how Axy generates future marketing strategy and content.
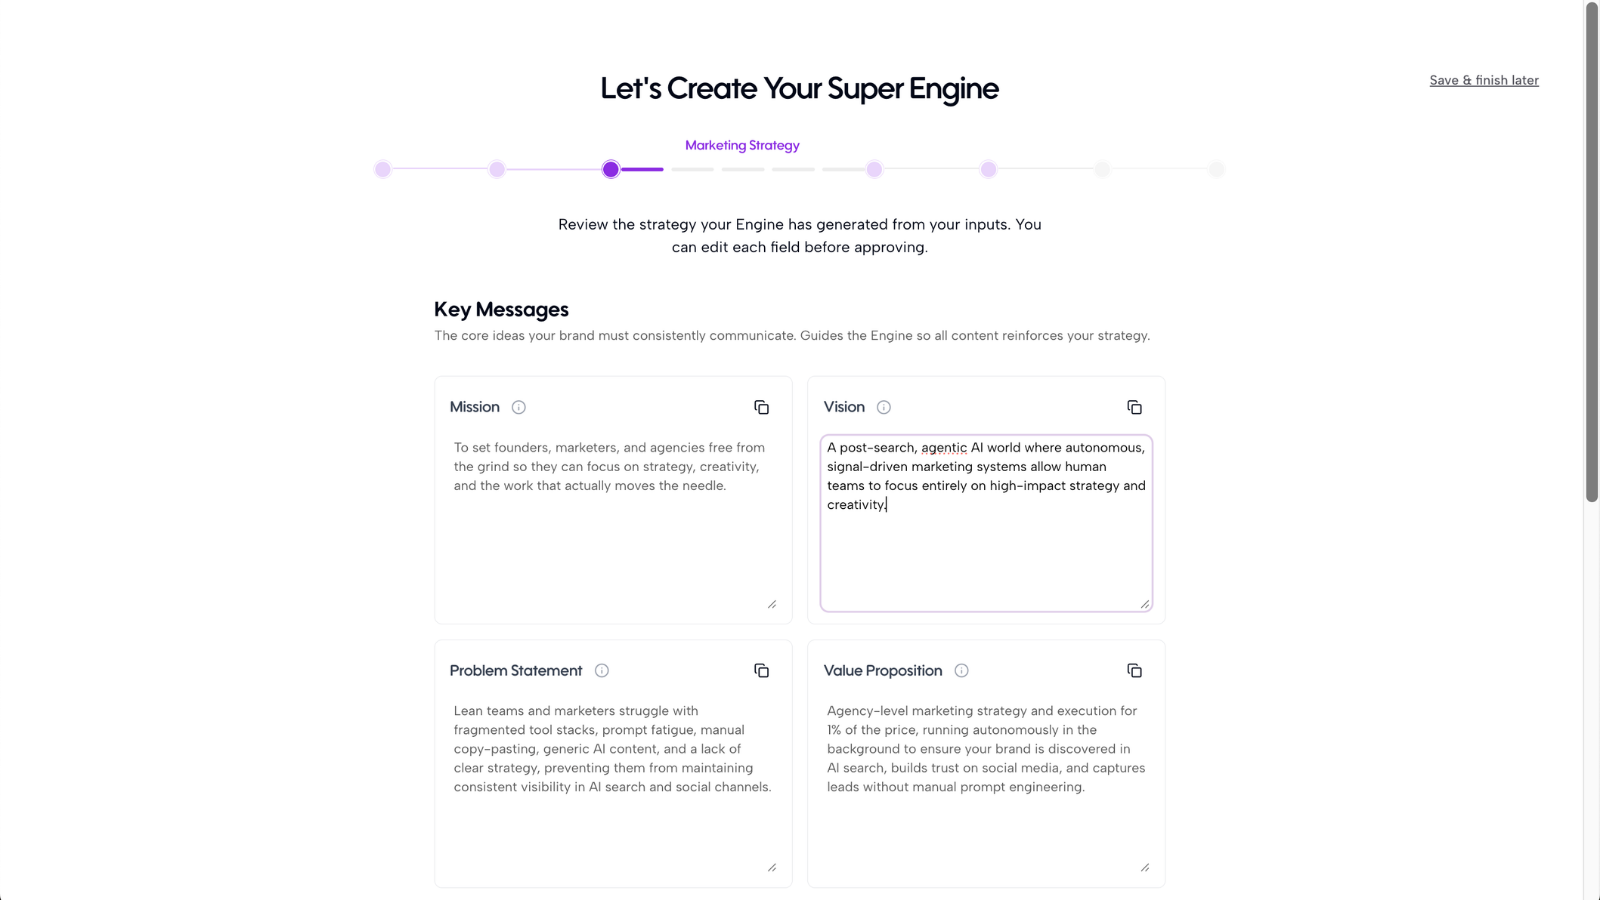
Step 6: Review your generated marketing strategy
Once your knowledge base is populated, Axy will automatically generate your marketing strategy. This strategy gives the engine a clear direction for future recommendations and campaigns.
Review the generated strategy and edit anything that feels inaccurate or incomplete. You may see fields such as:
- Positioning
- Ideal customer profile
- Target segments
- Key pain points
- Core messaging
- Differentiators
- Content pillars
- Market narrative
- Channel priorities
- Brand voice
The strategy does not need to be perfect. It only needs to be directionally accurate enough for Axy to begin generating useful outputs. You can come back and refine it later, and those updates will improve the entire engine.
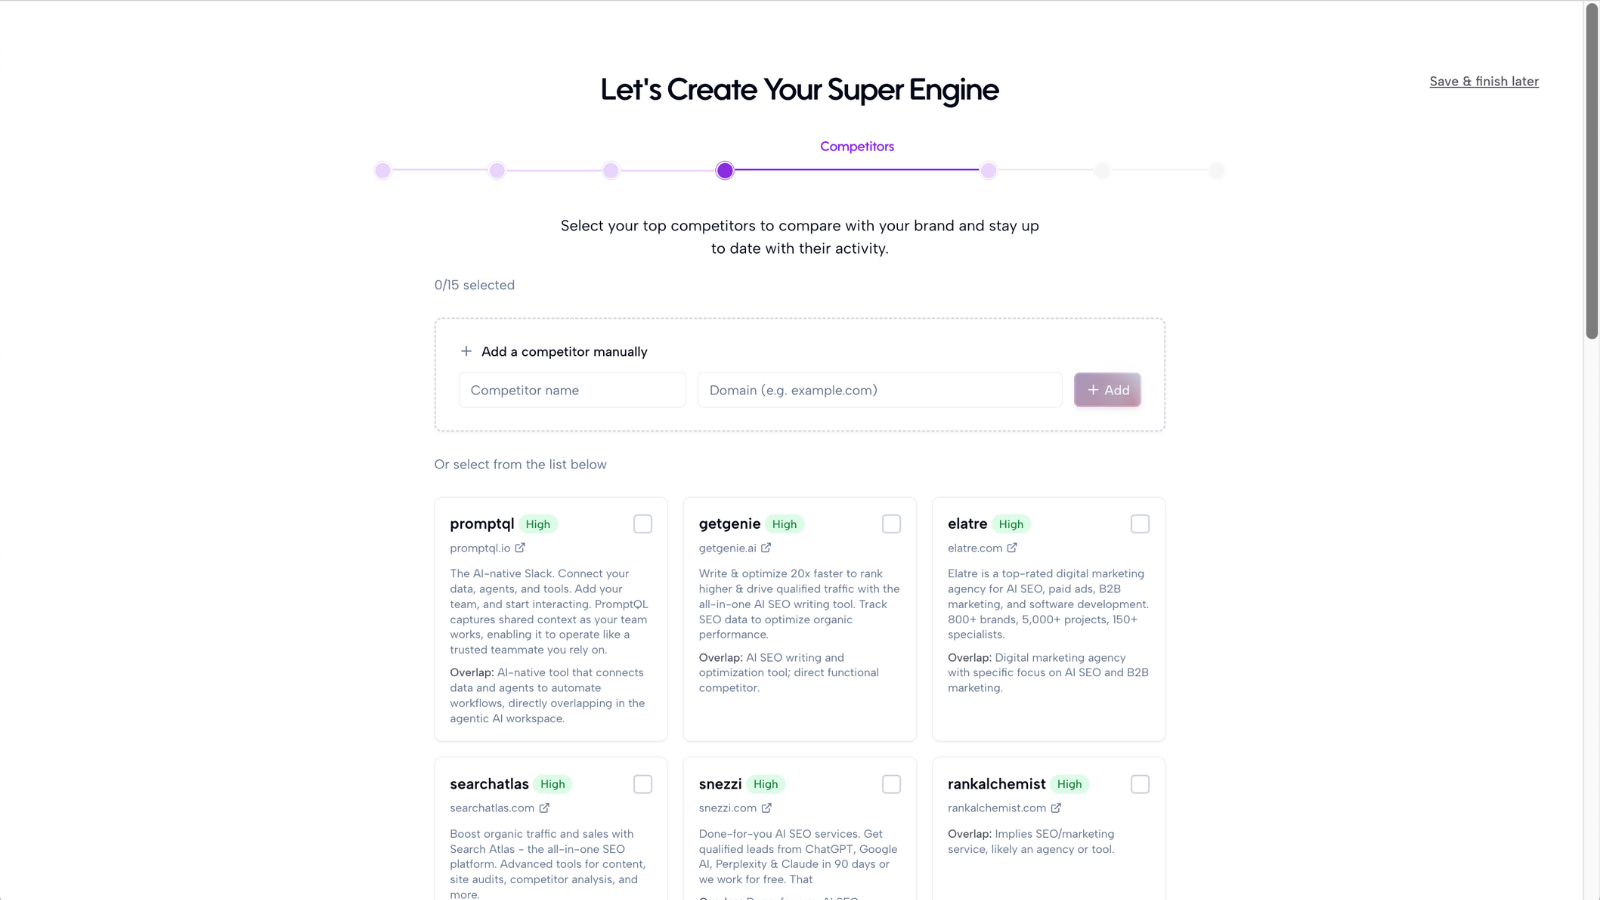
Step 7: Review suggested competitors
Axy will automatically identify competitors based on your website, market category, and positioning. Review the suggested competitors and select the most relevant ones.
Competitors help Axy understand:
- Who you are compared against
- Which companies are visible in your category
- What narratives they are using
- What content they are publishing
- Which competitors show up in AI search
- Where your brand may have visibility gaps
You can remove irrelevant competitors and add missing ones manually.
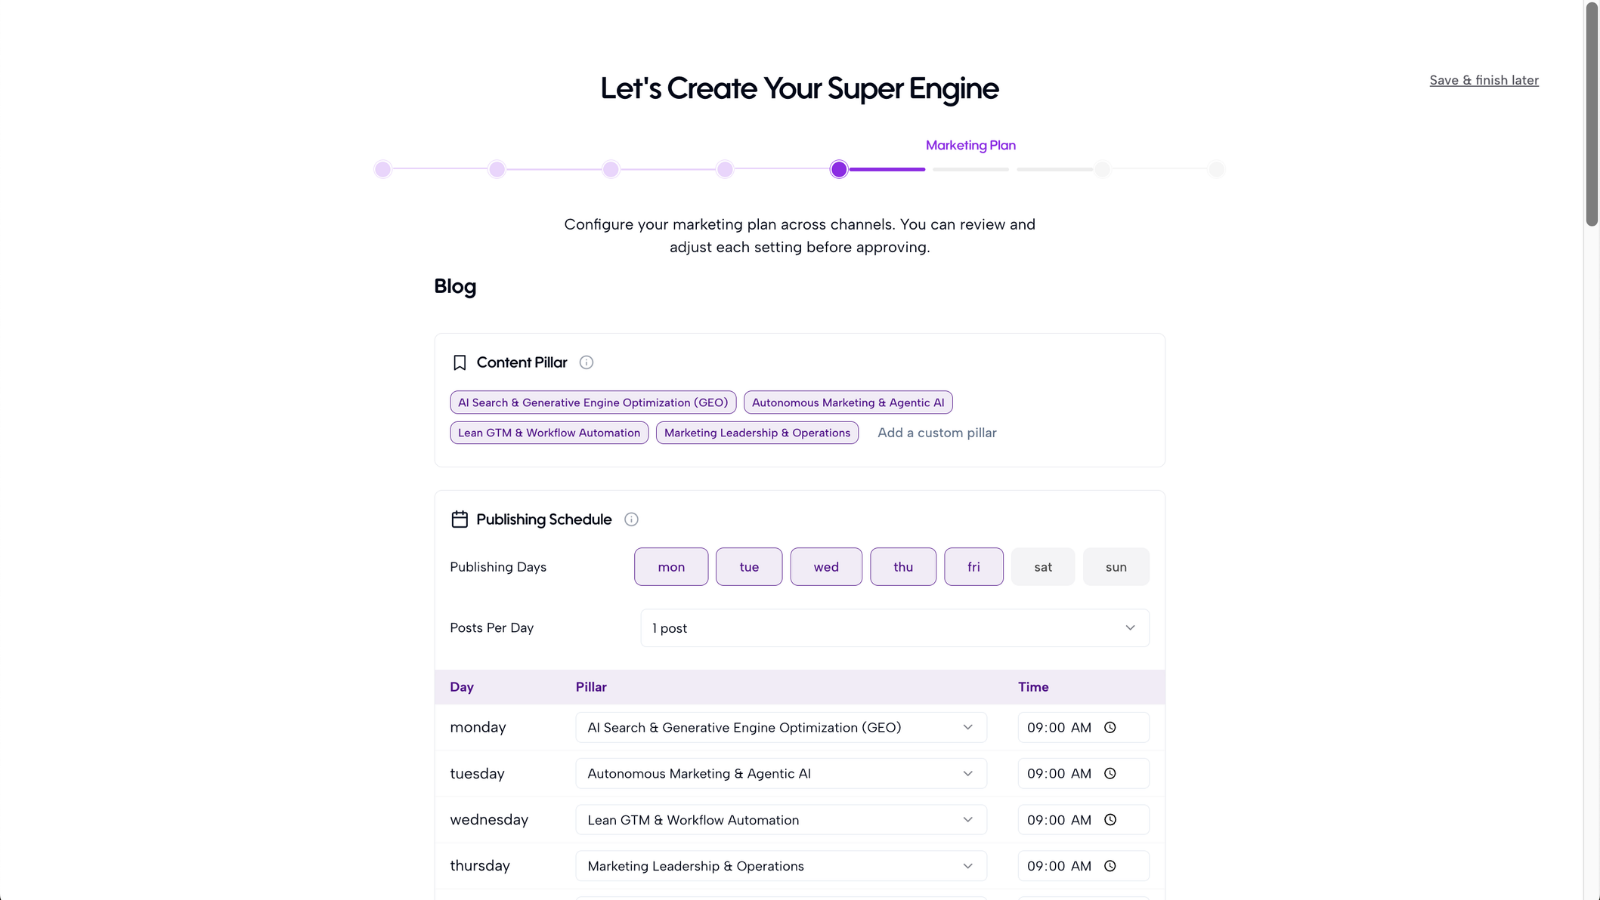
Step 8: Review channel-specific marketing plans
After your strategy and competitors are reviewed, Axy will generate channel-specific marketing plans. These plans guide how Axy creates campaigns for each channel. You may see plans for:
- GEO / AEO / SEO
- X
Each plan is generated based on your business context, market signals, audience, and channel opportunities. Review each plan and make edits where needed. For example, you may want to adjust:
- Target audience
- Tone of voice
- Content themes
- Campaign priorities
- Geographic focus
- Product focus
- Competitor references
- Posting style
Again, these plans do not need to be perfect. They are living inputs that you can update as your business evolves.

Step 9: Approve your onboarded pages
Your onboarding is considered complete when all onboarding pages have been reviewed and approved. Before approving, check that:
- Your website has been analyzed
- Your social channels are correct
- Your knowledge base has useful context
- Your marketing strategy is directionally accurate
- Your competitors are relevant
- Your GEO, LinkedIn, and X plans make sense
Once approved, Axy is ready to start generating dashboards and campaigns.
Step 10: Start using your marketing engine
After onboarding is complete, Axy can begin generating:
- AI visibility analytics
- Market intelligence dashboards
- GEO / AEO / SEO campaigns
- LinkedIn posts
- X posts and threads
- Channel-specific marketing plans
- Campaign recommendations
Your Engine now acts as the foundation for your algorithmic marketing engine. Axy will use your approved strategy, knowledge base, competitors, and channel plans to generate more relevant recommendations and content over time.
FAQ
Does everything need to be perfect?
No. Your onboarding fields do not need to be perfect before you start using Axy. Axy is designed to improve as your context improves. You can always come back and edit your marketing strategy, competitor list, channel plans, and knowledge base. When you update these fields, the changes update the entire engine. That means future dashboards, recommendations, and campaigns will reflect your latest strategy. The goal of onboarding is not perfection. The goal is to give Axy enough context to start generating useful marketing outputs.
Best practices
Add your most important resources first
Start with your website, main social channels, product docs, pitch deck, or whitepaper. You can add more resources later.
Choose relevant competitors
Do not select every company Axy suggests. Choose the competitors your buyers are most likely to compare you against.
Review strategy for direction, not perfection
Your strategy should be directionally right. It does not need to read like a finished brand deck.
Keep your Engine updated
As your product, positioning, audience, or market changes, update your Engine. This keeps your engine aligned with your business.
Use onboarding as a starting point
The first setup creates the baseline. Axy becomes more useful as you generate reports, review campaigns, and feed more context back into the system.
Once your onboarding is complete, start with one of these next steps:
- Generate your first AI visibility report
- Open your Market Intelligence dashboard
- Generate your first GEO campaign
- Generate your first LinkedIn post
- Generate your first X thread
Recommended next